Low-Calorie High-Protein Snacks: 25 Smart Snack Ideas
· 8 min read · Flourish Snacks Bites
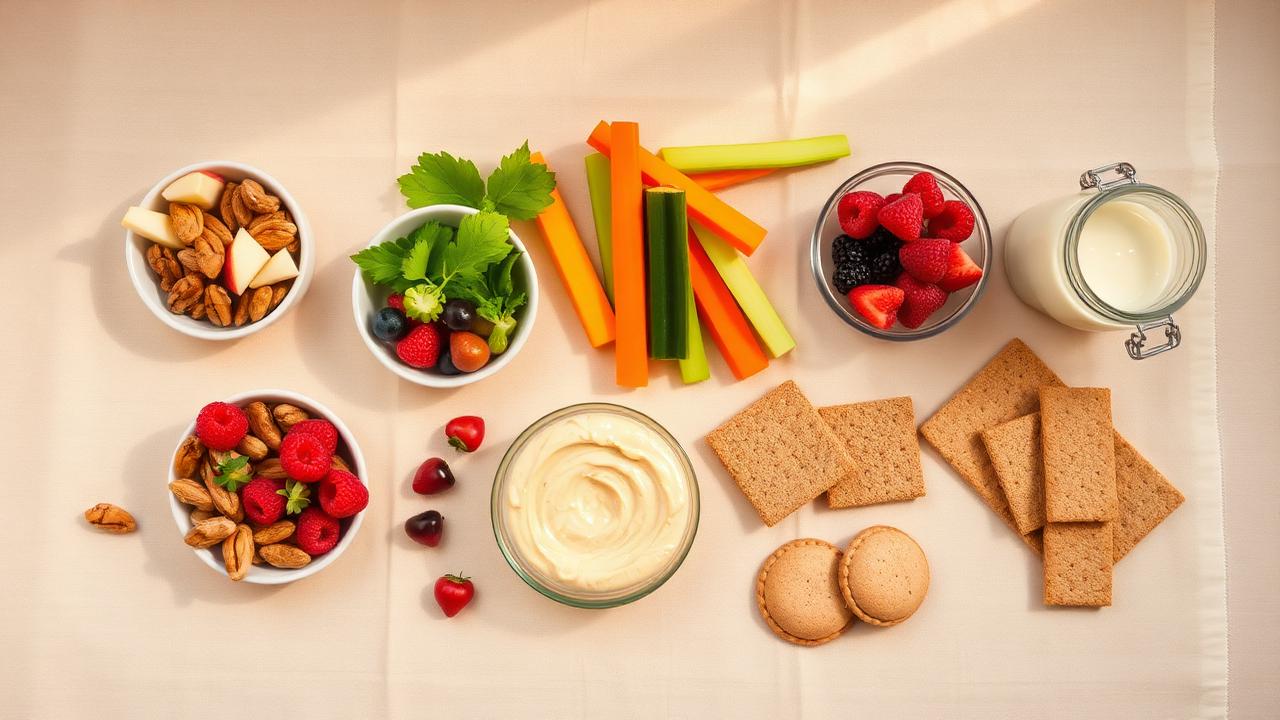
This guide is for the practical part of snack planning: preparing something protein-containing before you are hungry and keeping the additions manageable. It differs from our companion label-comparison guide by focusing on assembly, packing and small-batch preparation. The familiar phrase low-calorie high-protein describes the search topic, not a certification of these unanalysed combinations. Most useful protein snacks contain meaningful energy, and many would not meet the strict legal definition of a low-calorie claim. Exact values depend on brand, ingredients and portion. Use these 25 ideas as a starting point, and read the labels when you need a particular protein or energy amount.
Start with a base, then choose an addition
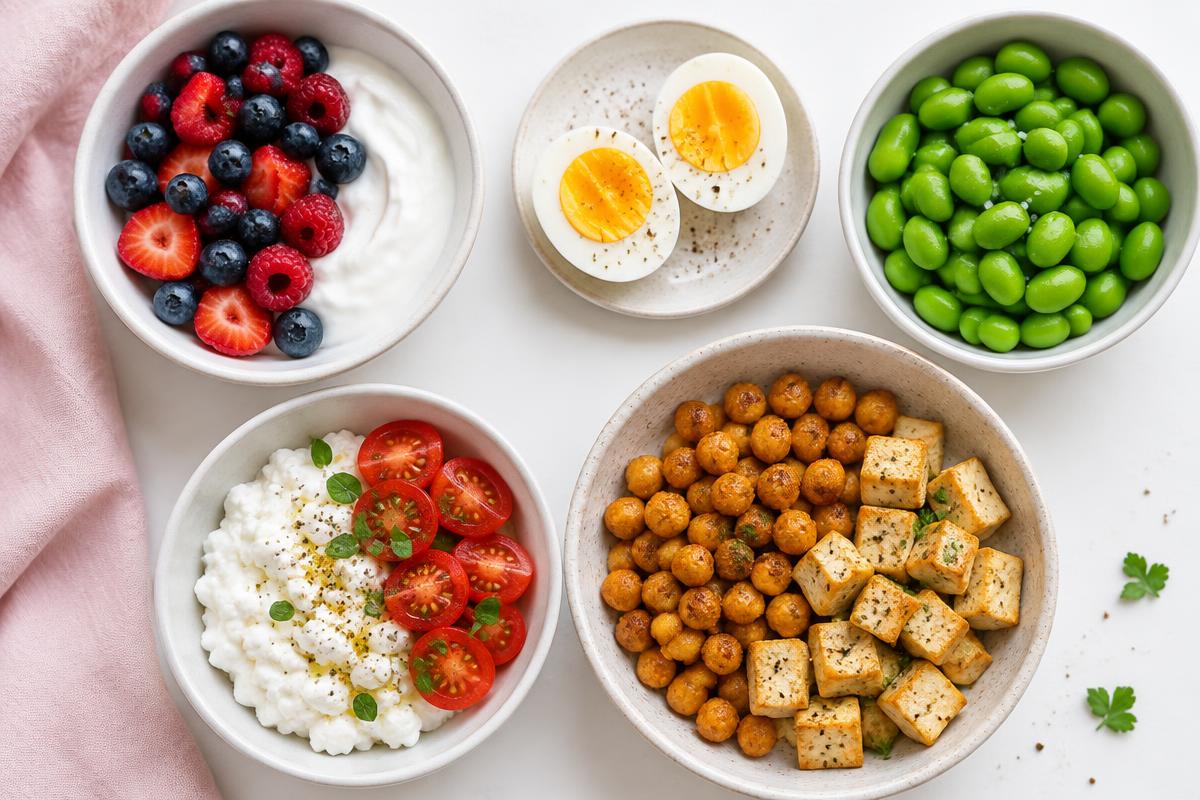
Pick a base such as yogurt, egg, tofu, cooked chicken or beans. Add fruit, vegetables or a modest bread portion depending on appetite and preference. This keeps the snack easy to repeat. Oil, nut butter, cheese, sauces and granola can be enjoyable additions, but a large amount changes the whole serving. There is no need to eliminate them; keep them intentional. Canada’s Food Guide supports a variety of protein foods within a broader eating pattern rather than requiring specialist bars at every eating occasion.
Protein and low-calorie claims are separate
Canadian nutrient claims have defined requirements, including specific criteria for protein and energy; see Health Canada’s permitted claims table. A substantial protein serving does not automatically qualify as low calorie. US rules also treat claims separately, but the applicable conditions should not be assumed identical across countries. For detailed comparisons, use our high-protein low-calorie label guide. This page gives food preparation ideas rather than invented nutrition numbers for homemade bowls.
25 preparation and packing formats
1. Two-compartment breakfast pot
Put plain Greek yogurt in one compartment and washed berries in another. Combine when you eat, rather than soaking the fruit overnight. If your container has only one compartment, use a small separate topping pot. Pack a spoon and keep the yogurt cold.
2. A seasoning-first yogurt rotation
Divide plain yogurt into separate cups and give each a different seasoning: cinnamon in one, lemon zest in another, and chopped herbs in a savoury version. This creates variety without buying several flavoured tubs. Choose toppings at eating time and calculate them separately if tracking nutrition.
3. A drained savoury cottage-cheese box
Wash cucumber, chop it, and drain visible liquid before packing beside cottage cheese. Keep herbs in a small dry section so they do not wilt in the cucumber juice. Mix just before serving. Choose the cheese by its sodium label rather than assuming the fresh vegetables offset added salt.
4. A fruit-on-the-side dairy cup
Pack cottage cheese and sliced peach in separate containers. For canned fruit, drain the liquid before portioning; use the package to check whether it was packed in syrup or juice. Keeping fruit apart lets you use the same dairy base for a sweet snack today and a savoury one tomorrow.
5. A peel-at-eating egg kit
Pack safely cooked, cooled eggs with a separate vegetable container and a little paprika or pepper. If leaving the shell on, include a small bag for shells and clean your hands before peeling. This format avoids a dressing that can leak and gives each component its own place.
6. A vegetable-first baked-egg portion
Choose a tested baked-egg recipe and prepare the vegetables it specifies before adding egg whites. Wet vegetables can change the mixture, so follow the recipe rather than improvising the cooking time. Portion the finished bake into containers after safe cooling; label each with the preparation date.
7. A slice-and-pack frittata tray
Make a small whole-egg frittata using a reliable recipe, then cut the cooked tray into the portions you intend to eat. Keep a record of cheese and oil used if you need to calculate nutrition. Refrigerate as directed and pack any crisp vegetable accompaniment separately.
8. A dip-in-the-middle chicken box
Arrange safely cooked chicken and cucumber around a sealed dip pot rather than coating everything in dressing. This keeps cucumber crisp and makes the amount of sauce visible. Choose a leak-resistant container, keep the filling chilled, and carry a fork so the snack is easy to eat away from home.
9. A wrap-at-eating lettuce kit
Pack cooked turkey and clean, dry lettuce separately, then make small parcels when you sit down to eat. This avoids leaves becoming limp around a wet filling. Add any sauce at the last moment. Use a cold pack and check sodium if choosing prepared deli turkey.
10. An open-and-assemble tuna cup
When suitable for the product and your setting, carry a sealed tuna portion alongside tomatoes and open it at eating time. Bring an opener if needed and a container for waste. Alternatively, refrigerate an assembled portion according to the label; opening the tin changes its storage requirements.
11. A topping-and-base cucumber kit
Pack cooked salmon and cucumber slices in separate chilled sections. Assemble one round at a time instead of transporting a stack of fragile topped slices. Dry the cucumber surface gently before adding the fish. A small fork helps keep the preparation manageable without needing elaborate garnishes.
12. A leak-resistant seafood pot
Choose properly cooked shrimp and pack them in a container that closes securely, with lemon or sauce in a second small pot. Test the lids before putting them in a bag. Keep both cold and avoid packing more than you plan to eat if refrigeration will not be available afterward.
13. A freezer-to-container edamame routine
Cook frozen edamame according to its package, then prepare a shelled portion for a snack container. Keep pod waste out of a ready-to-eat box unless you deliberately want an in-pod snack. Add seasoning separately so each portion can taste different, and follow safe cooling and refrigeration guidance.
14. A dress-later tofu bowl
Prepare tofu as directed on its package and pack it with vegetables, keeping the herb-and-lemon dressing separate. Note which type of tofu you used if calculating protein: firm and silken versions are not interchangeable measures. Shake the dressing in its own closed pot before adding the amount you want.
15. A baked-bite and dip pairing
Use a tested recipe for baked tofu pieces, then portion them alongside a separate dip rather than soaking the coating. Choose a container wide enough that the pieces are not crushed. Treat them as a cooked perishable food, not as a shelf-stable substitute for packaged crisps.
16. A layered lentil snack jar
Put cooked lentils in a jar with prepared vegetables, keeping any delicate leaves away from wet dressing. Leave room to stir or transfer the contents to a bowl. A wide opening is easier to eat from than a tall narrow bottle; refrigerate the assembled jar appropriately.
17. A chop-once chickpea station
Prepare cucumber and herbs for a small batch of cooked chickpeas, then divide the components into the portions you need. Keep dressing measured and separate. Save the ingredient labels or recipe quantities if recording nutrition, rather than estimating the whole batch from the size of one container.
18. A spread-and-crunch kit
Mash cooked white beans with lemon and herbs, then spoon the spread into a sealed pot. Pack vegetables or toast separately so they do not soften in contact with the beans. Choose a utensil that fits the pot; a practical container makes an ordinary spread easier to enjoy.
19. A dip container with a serving boundary
Mix plain Greek yogurt with herbs and portion it into a small dip container before cutting vegetables. This makes it easier to distinguish the packed serving from the spoonfuls eaten while preparing it. Pack enough vegetable pieces to use the dip without needing to add another snack by default.
20. A spoonable edamame spread
Blend cooked edamame using a reliable dip recipe and adjust texture with its recommended ingredients. A spread that is too stiff can be awkward in a small pot; test it with the vegetables you plan to pack. Record oil or tahini additions if nutrition calculations matter to you.
21. A dairy-free topping tray
Choose soy yogurt by its actual protein label, then pack fruit in a separate section and leave space for mixing. Do not assume every plant-based yogurt can replace the chosen one nutritionally. This format also works when household members prefer different toppings on the same chilled base.
22. A chilled drink-and-bite pairing
Pack a suitable plain kefir portion in a leak-resistant bottle and add a separate solid accompaniment if a drink alone does not satisfy you. Check how much liquid the bottle holds instead of treating every bottle as one label serving. Keep dairy chilled throughout the journey.
23. An oat jar with room to stir
Measure oats and yogurt into a jar using a tested combination you enjoy, leaving space below the lid. Keep fruit or crunchy toppings separate if texture matters. Write down the quantities before mixing when calculating nutrition; the finished jar is difficult to separate into its original ingredients.
24. An assemble-later toast snack
Pack safely cooked chicken filling cold and keep bread in a separate dry compartment. Assemble when you eat so the bread does not become damp. Include a small sauce pot if wanted, and choose bread portions by appetite rather than squeezing a meal-sized sandwich into a tiny snack container.
25. A ready-made backup with a packing check
For days without preparation time, choose a label-checked protein drink and check its storage instructions before packing it. Some sealed drinks can be stored differently from opened ones. Confirm the whole bottle serving and bring an ordinary food option instead if you prefer chewing to drinking your snack.
A small-batch routine for busy days
Prepare two protein bases rather than twenty-five finished snacks. For example, cooked eggs and a yogurt tub can support several combinations with ordinary produce. Use clean containers, label the preparation date and follow storage guidance for each food. Keep wet additions separate if texture matters. The Health Canada general food safety guidance is the source for safe handling principles. Do not leave dairy, cooked rice, eggs, fish or meat unrefrigerated simply because they are portioned as snacks.
Know what you are measuring
If you need exact values, weigh or measure the ingredients, use their labels or a reliable food-composition source, and calculate the whole portion. This article does not give guessed protein and calorie figures. If medical needs affect protein or energy targets, ask a dietitian or clinician. The companion comparison guide helps you evaluate labels; vegan ideas offer more plant-based combinations. A useful snack provides what you need and tastes good, rather than meeting a fashionable phrase at any cost.
A note from our kitchen
The useful preparation is the one you can repeat without turning a snack into a project. Keep one base and two toppings ready, then vary the combination. Clear ingredients and a comfortable portion are more valuable than a precise-looking nutrition number nobody has actually calculated.
— Flourish Snacks Bites
Looking for Nigerian snacks in Regina?
Flourish Snacks Bites makes Nigerian snacks for pickup or local delivery. This guide is general food information, not our product menu or a dietary certification.